Steps in the spoon carving process
As tools go, spoons are about as simple as it gets. With that said, multiple steps and a good bit of patience are still required to make a good one that has the right shape for the job, feels good in your hand, and is crafted to last for many years of use. In this first of a series of posts about the spoon carving process, I give a broad overview of the steps involved and why each one is important to the finished product.
CARVING PROCESS
1/18/20256 min read
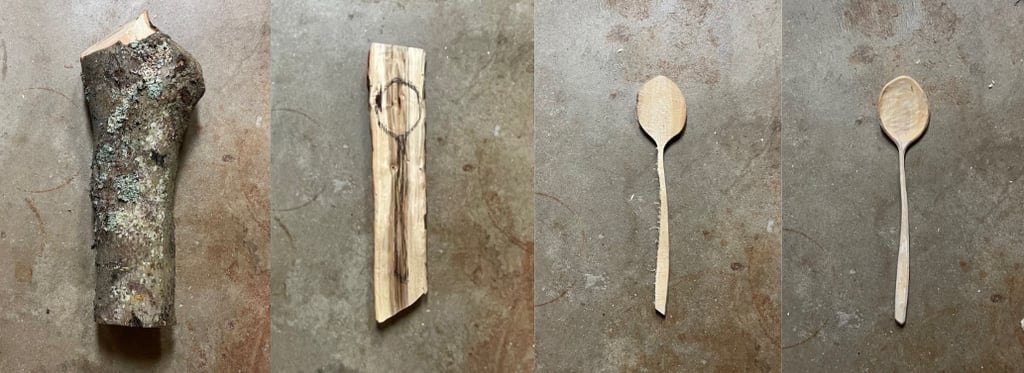
Below are the 9 steps I follow to make my greenwood spoons. While every spoon carver almost certainly does things differently as they refine their own style and methods and adapt to the tools they have on hand, the basic process is roughly the same!
STEP 1: Find "green" wood
As I talked about in my last post, green wood refers to freshly cut wood that still contains a high moisture content. The moisture makes the wood fibers more pliable and easier to carve. Ideally, I source “found” wood from fallen branches or trees around my neighborhood to practice sustainability and reduce waste. It helps to have a good spoon dog for this step to find just the right sticks! Hardwood (i.e., “angiosperm”) species such as maple, walnut, cherry, or other fruit trees like apple or pear are ideal choices due to their strength, fine grain, and superior durability compared to softwoods (i.e., “gymnosperms”) like pine, spruce, or fir. Proper wood selection at this stage is crucial, as it lays the foundation for the entire project. Inspecting for cracks, rot, or other flaws early on helps ensure the final product is strong and avoid sinking time into a spoon that ultimately wasn’t meant to be.


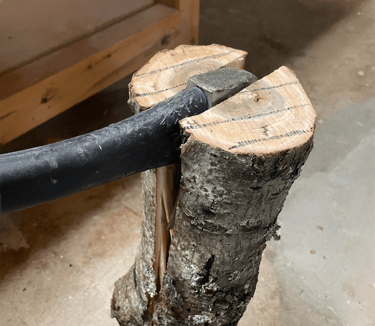
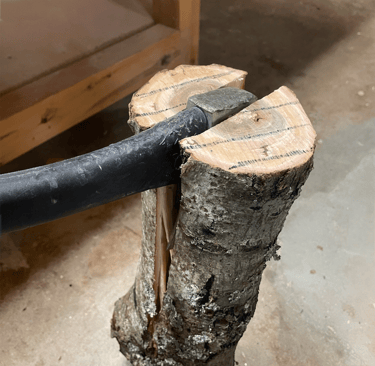
STEP 2: Split wood into spoon-sized pieces (i.e., “billets”)
Once you have your green wood, the next step is to split it into manageable pieces known as billets. This process typically involves using a hatchet or froe, paired with a mallet, to carefully split the wood into uniform sections that approximate the desired spoon size. The goal is to create billets that are slightly larger than the final spoon to allow room for shaping and refinement. Splitting along the grain—a technique called “riving”—is essential for preserving the wood’s natural strength and durability. Riving also allows the spoon’s design to follow the unique flow and character of the tree’s shape, giving each spoon a distinctive beauty and connection to its source.
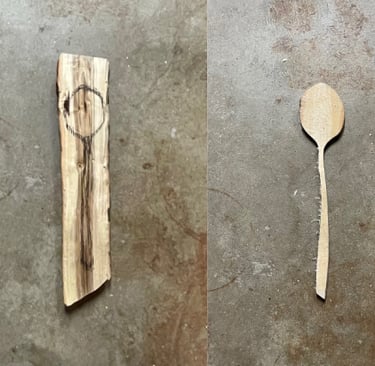
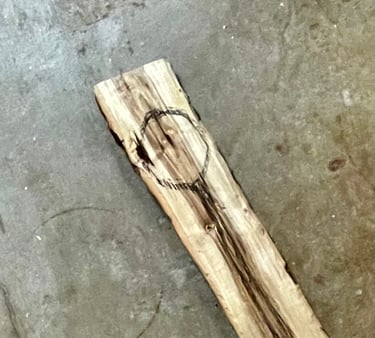
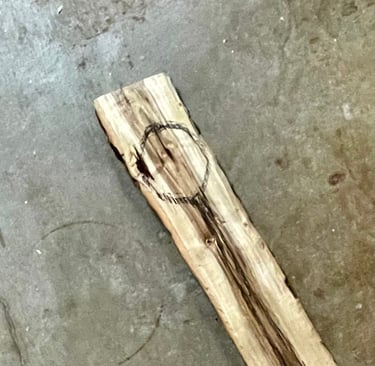
STEP 3: Design spoon for form & function
Designing a spoon is both an artistic and practical step. It’s an opportunity to infuse some personal style into the piece, making each spoon unique while ensuring it meets its intended purpose. The design is influenced by the size, shape, and character of the wood as well as the spoon’s intended use—whether for cooking, stirring, tasting, or ladling. The wood itself often guides the process, with its grain, natural features, and flaws like knots or insect holes shaping the final design. A good design maximizes the spoon’s strength and accentuates the wood’s natural beauty. Some carvers prefer using clear plastic templates to trace a design onto the wood for precision. Personally, I enjoy grabbing a sharpie and sketching a freehand design, letting the tree "speak" to me about the unique spoon hiding inside and waiting to be revealed!
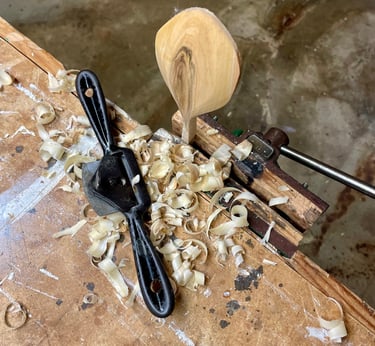
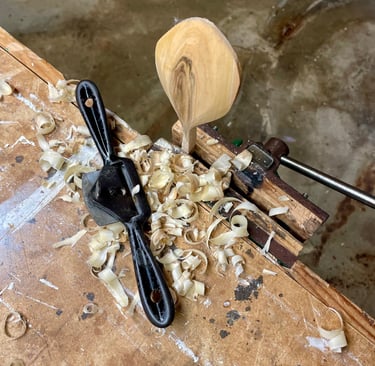
STEP 4: Rough out spoon from billet
The goal of this step is to create a “rough draft” of the spoon’s shape that can be refined in the next steps. To achieve this, I typically use a combination of tools, including a (very sharp!) carving axe, a bandsaw, and a handheld spokeshave. Some carvers prefer a drawknife paired with a “spoon mule”—a traditional tool that uses foot pressure to hold the wood securely in place. Regardless of the tools or methods used, the focus remains on removing excess material while working with the grain of the wood. It’s important to stay outside the sketched lines, leaving enough material for refinement later, and to establish the basic proportions of the handle and bowl.
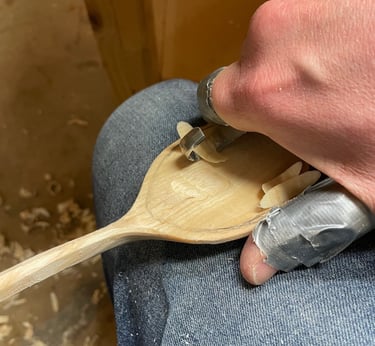
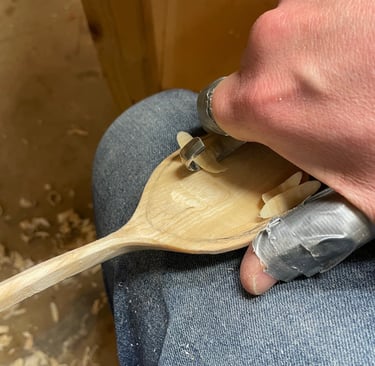
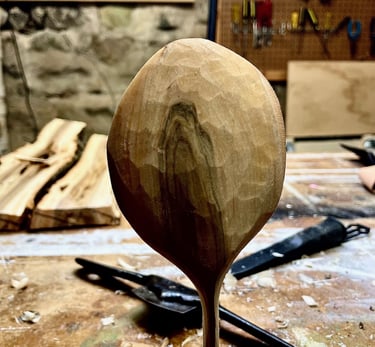
STEP 5: Carve spoon to final “wet” shape
At this stage, the spoon fully takes shape. I do this in two phases: (a) I use a carving knife (also known as a Sloyd knife) and spokeshave to make careful, controlled cuts to refine the shape of the spoon, smoothing out rough edges and gracing the contours, and (b) use a curved ‘spoon knife’ to shape the bowl of the spoon. This is a slow and methodical process and you want to watch out for over-carving, which can compromise the strength or aesthetics of the spoon. By the end of this step, the spoon is basically in its final form, though it will still need additional finishing touches after it dries.
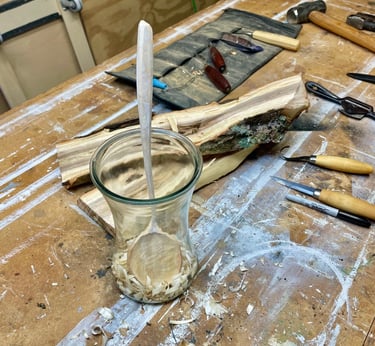
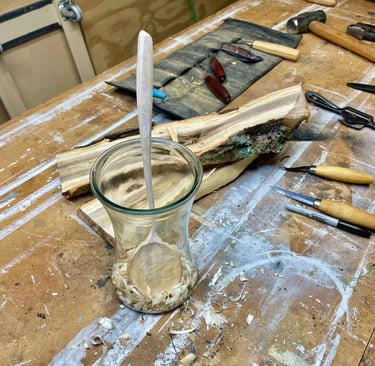
STEP 6: Dry spoon
Properly drying the spoon is essential for its longevity and to prevent cracking. I typically place the spoon in a glass vase with some shavings or other spoons, ensuring it is kept out of direct sunlight. The glass vase helps trap humidity, allowing the spoons to dry slowly–the main thing to avoid cracks. While some carvers prefer wrapping the spoon in paper or storing it in a shavings-filled bag as an alternative way to slow the drying process, I’ve found these methods less effective, as the wood tends to stay too wet, sometimes leading to mold growth. Depending on the thickness of the wood and the ambient conditions, the drying process usually takes 4–5 days. I can tell it’s done when the wood no longer feels cold to the touch, as it does when wet, and it becomes noticeably lighter and stiffer.
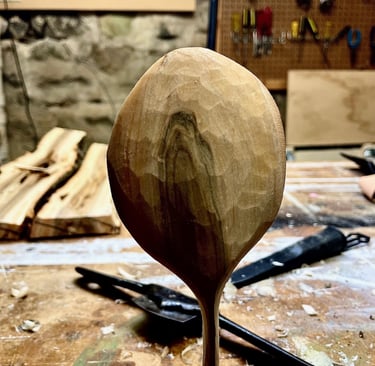
STEP 7: Final "drywood" carving
Once the spoon is fully dry, I make final adjustments to its shape and surface. Dry wood is more challenging to carve than green wood, requiring sharper tools and a bit more muscle. However, the cuts made in this stage are crisper, allowing for greater precision in refining the details and perfecting the final shape. In fact, the cuts made with a razor-sharp knife at this stage leave a smooth "tool finish," superior to any result you could achieve with sanding.
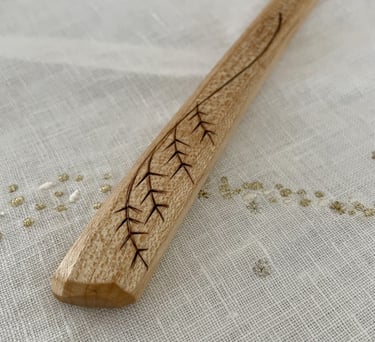
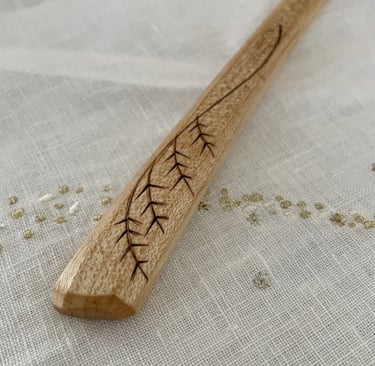
STEP 8: Embellish spoon
This step is a lot of fun and I’ve found there are many, many ways to add some artistic flair to bring out the wood’s natural beauty and turn each spoon into a unique work of art. For example, spoons can be baked in the oven to give them a deep brown color or ‘ebonized’ with a special vinegar solution to turn them a shimmering black through a chemical reaction with the natural tannins in the wood. Other techniques like chip carving, lettering, kolrosing, or painting can add intricate details, a personalized touch, or a pop of color. The really is no limit on what can be done and this is where I enjoy seeing what other spoon makers come up with to showcase their own sense of style and craftsmanship.
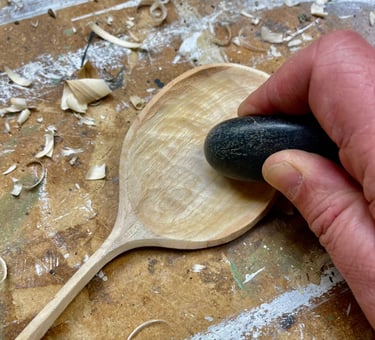
STEP 9: Burnish, finish, and cure the spoon
The final step is to protect and enhance the spoon with a finish. I begin by burnishing the surface with a smooth river rock (mine is a beautiful black rock I picked up from the Reynisfjara black sand beach in Iceland!). Rubbing the rock over the wood creates a natural sheen while compacting the fibers for added durability. Once burnished, I apply a coat of 100% natural, food-safe Tung oil, which highlights the wood’s grain and forms a protective barrier against moisture. Tung oil is unique because it naturally polymerizes, or hardens, as it dries (unlike, for example mineral oil). This curing process can take several weeks, but once it's complete, the spoon is protected and ready for use!

Featured Spoons
Spoonweather
Hand carved wooden spoons honoring local trees and community. Made in the USA .
© 2025. All rights reserved.
Learn more
Navigate
Connect
Needham, MA